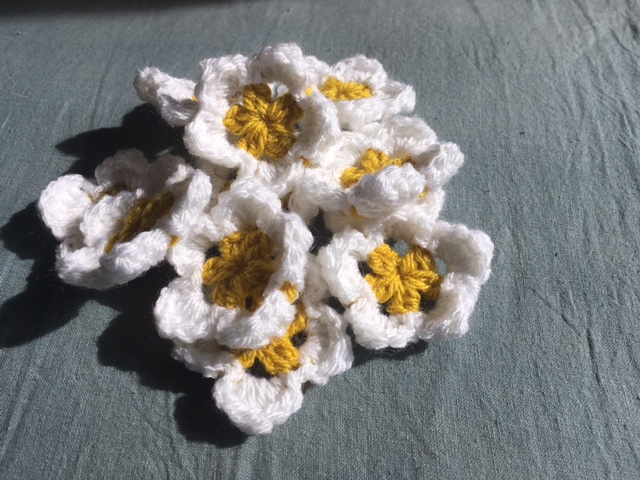
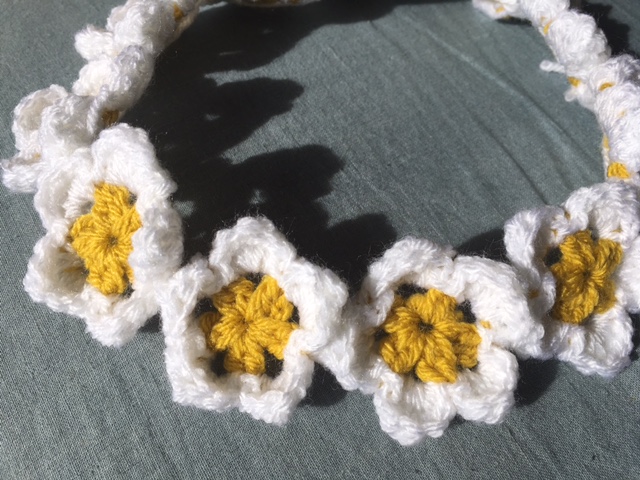
I’ve been making a seaside stash busting blanket as part of the the cal from the wonderful coastal crochet (take a look at her blog and join in here). I’m really loving the cal and my blanket but there was one thing…
One row that was the wrong colour and really bugging me. So I decided I just had to change that row for a different colour. But by the time I decided I was going to change it, I’d done dozens more rows and I didn’t want to rip back all of that crochet. And then I read about a way to fix up mistakes in knitting without frogging and I though if it works for knitting, why not crochet? So I played around a bit and I found a way!
Here’s how I did it. These instructions assume a row of treble stitches, but can be modified for other stitches.
Starting with some crochet and one row is a colour you’d like to change – here it’s the white row – I’m showing the front and back so that you can compare how both sides look before and after. Left is the front, right is the back.
Pic on the left is the front (right side), pic on the right is the back.
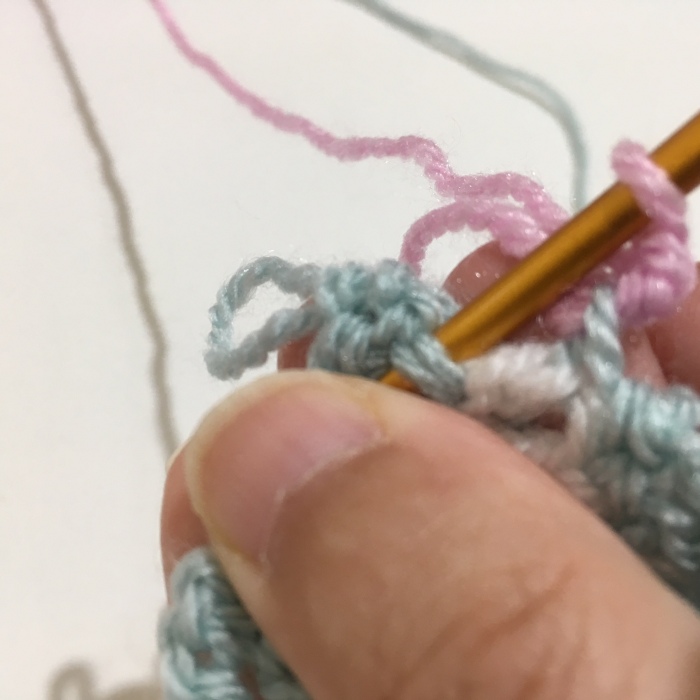
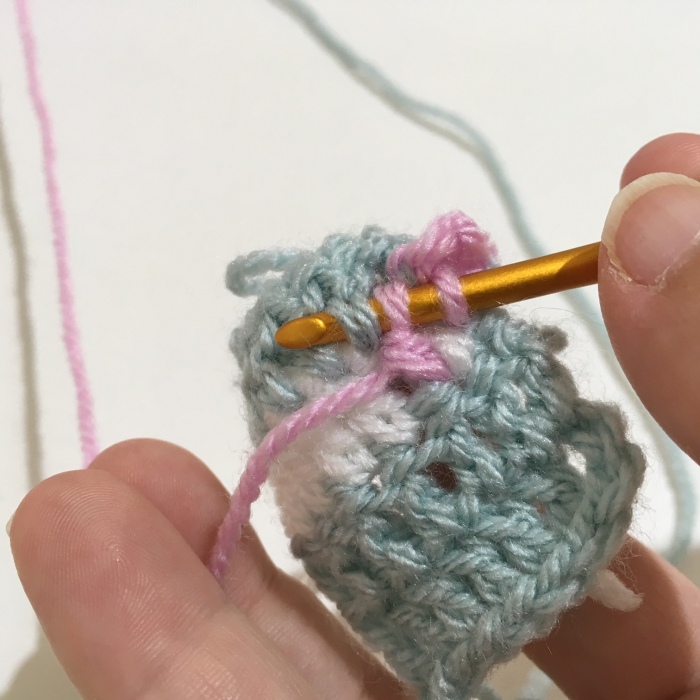
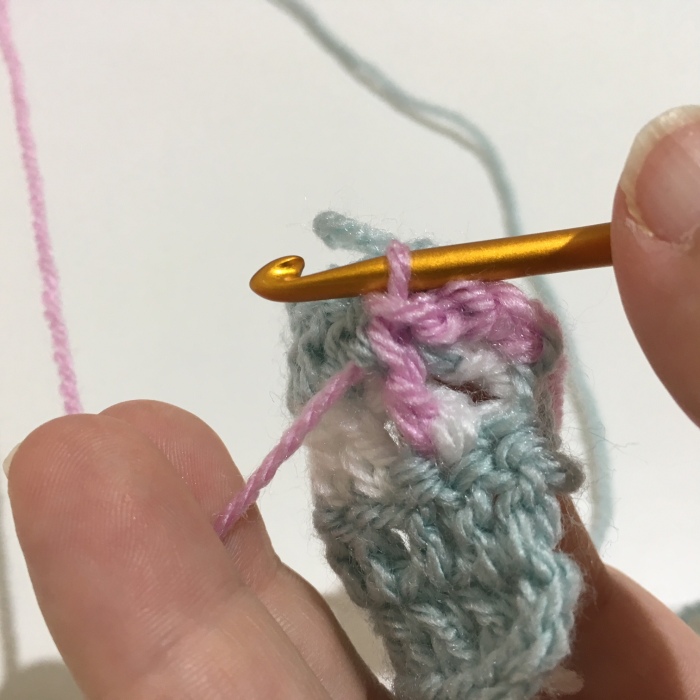
The first step is to anchor the new coloured yarn. Put your hook through the loop where the wrong coloured yarn is joined – see picture below.

Put a loop of new yarn over your hook and pull it through to join the new yarn.

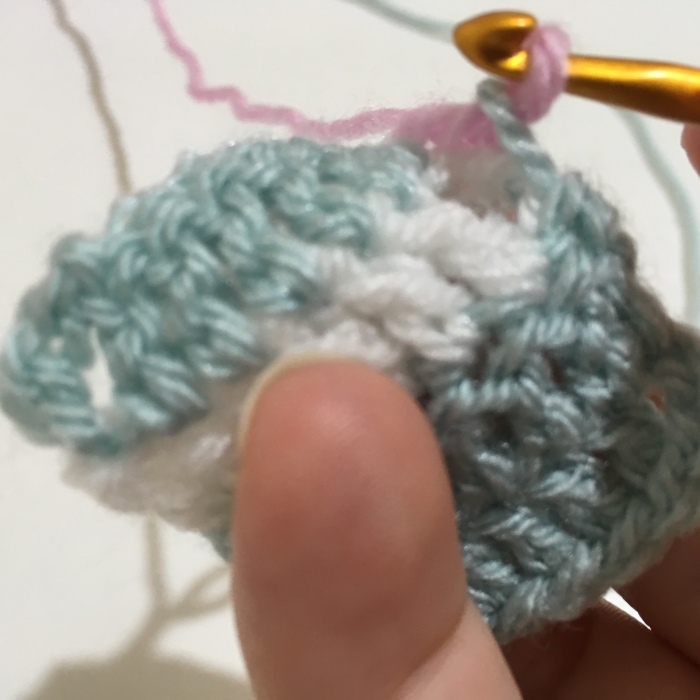
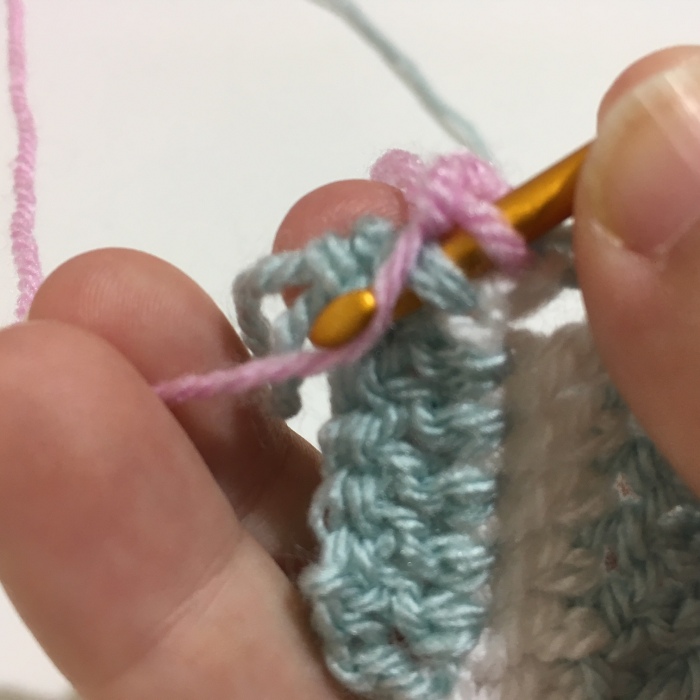
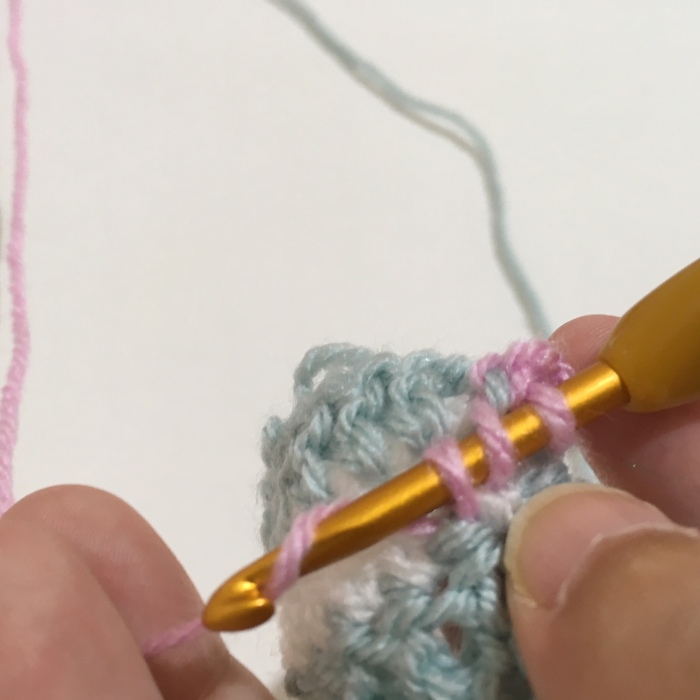
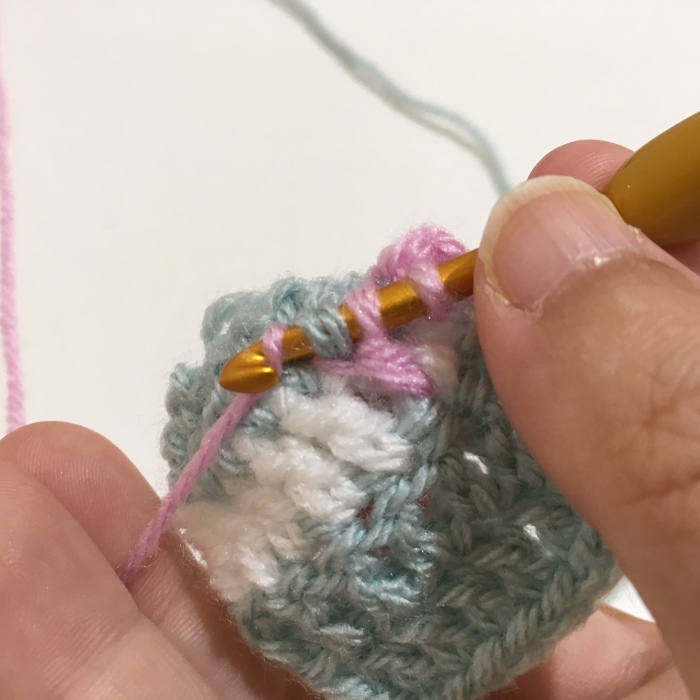
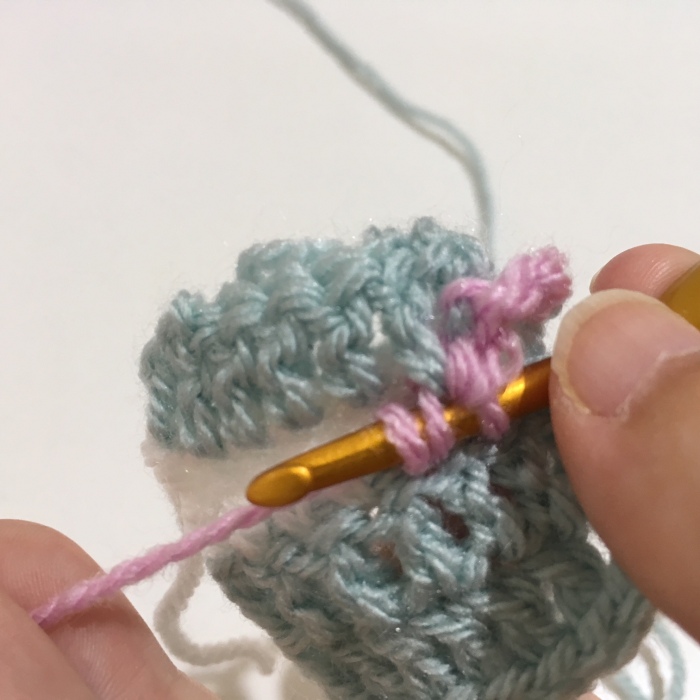
Once the new yarn is attached make two chains (picture below).
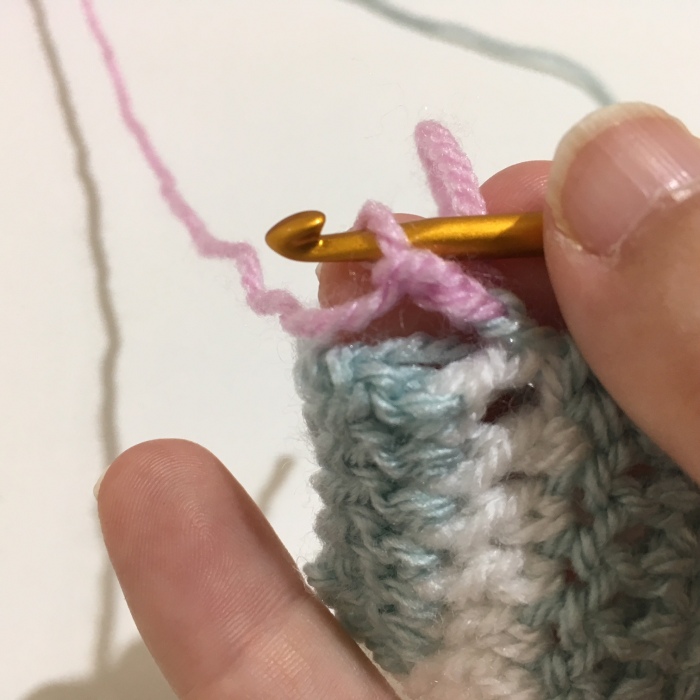
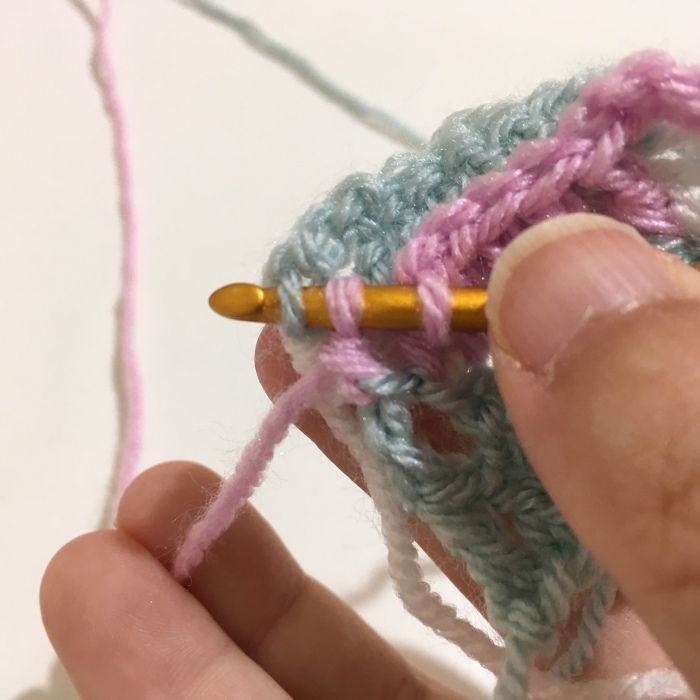
Now is the fiddly bit – you’ll get it and with a bit of practise it’ll seem easier I promise. You need to poke your hook through the two loops where the background colour goes around the top of the first stitch you are replacing. Your hook is following the old yarn you want to remove. If you can’t get the hook in then try going down a hook size.
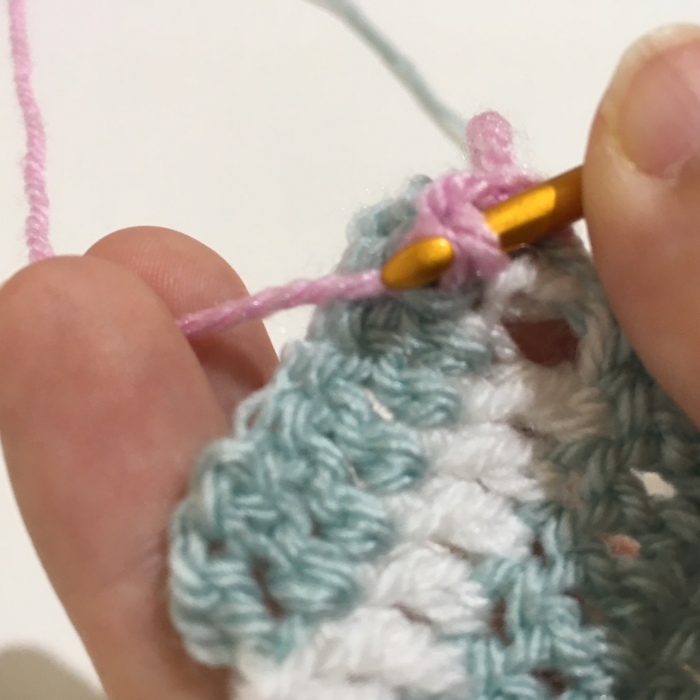
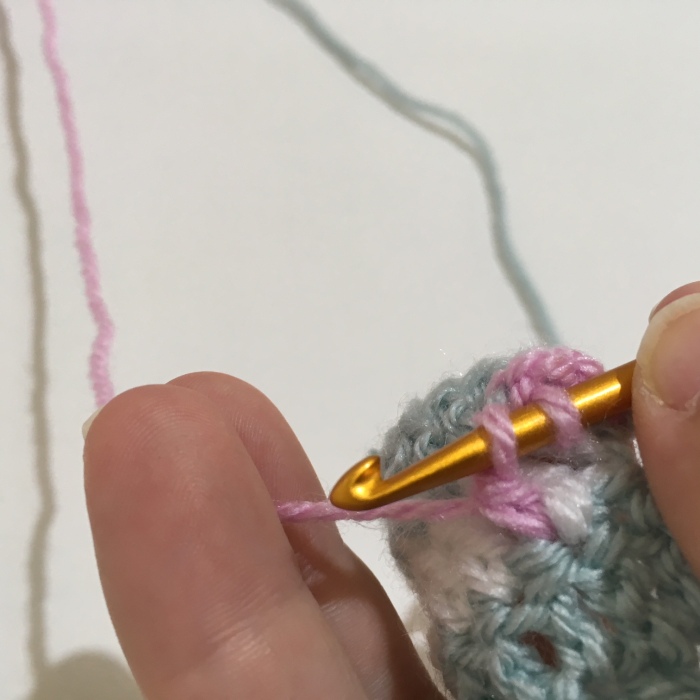
One you hook is there then loop the yarn over
And pull the yarn through – you’ve now begun to attach your new colour to the row above!
Pull your yarn through the remaining loops.
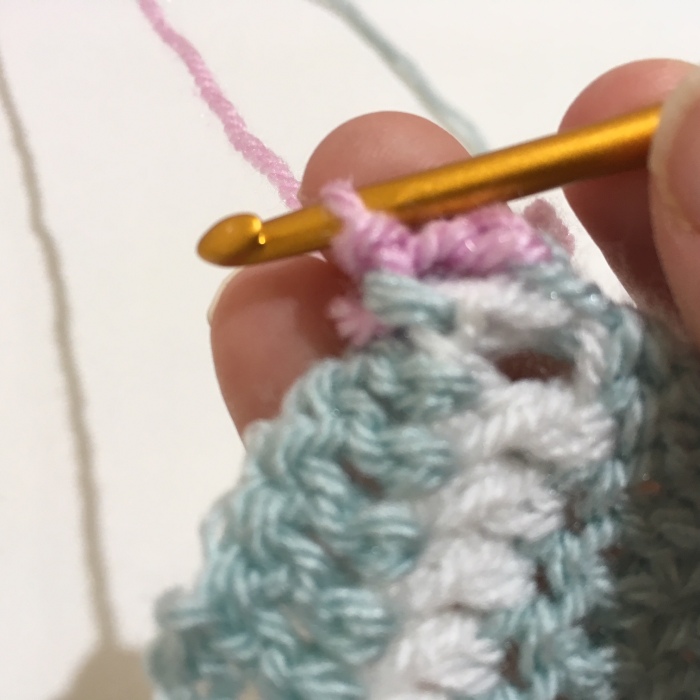
Now there is one loop left on your hook and you have completed the first replacement stitch!
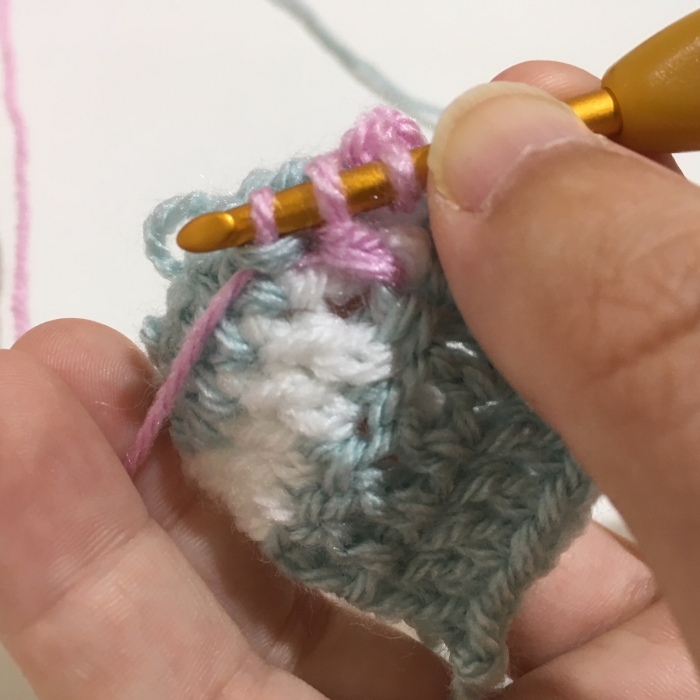
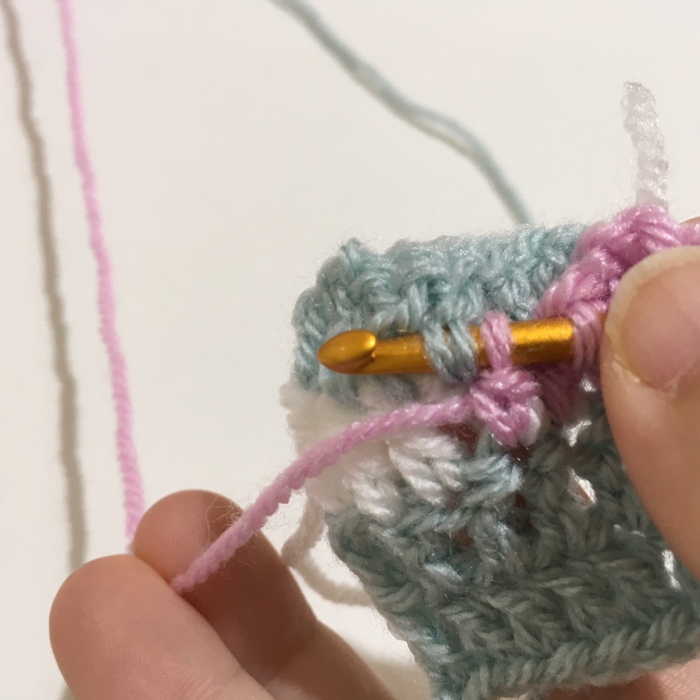
Next we have to find the right place to put our hook to start the next stitch. See the picture below, we place the hook as if we were crocheting into the next stitch in the row below the row we want to replace. Actually that’s exactly what we are doing!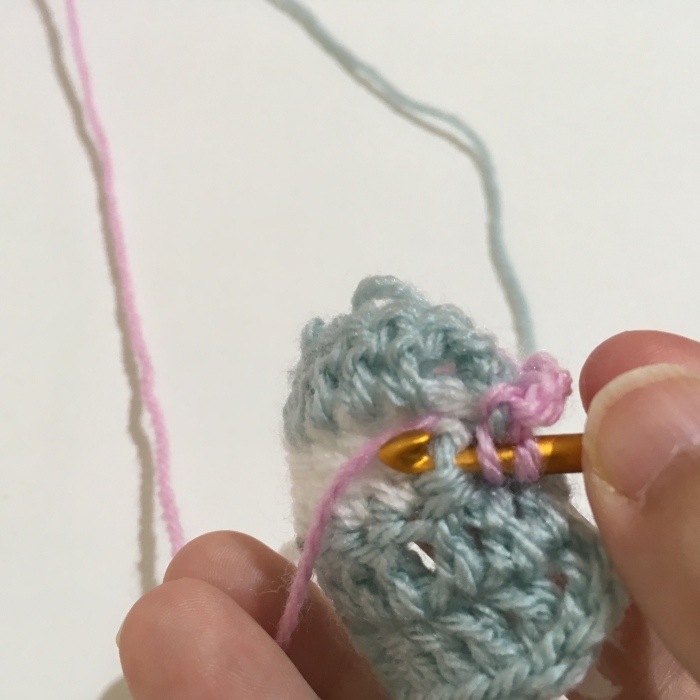
From here we loop the yarn over, then pull it back through, after that it should look like the image below.

Yarn over …
And pull that loop through the first two loops as if starting a treble stitch (or US dc). Two loops are left on the hook.
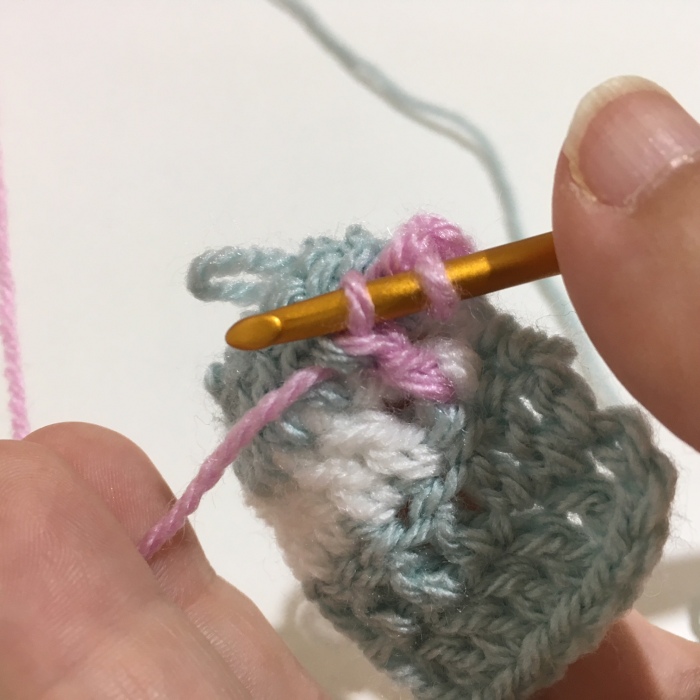
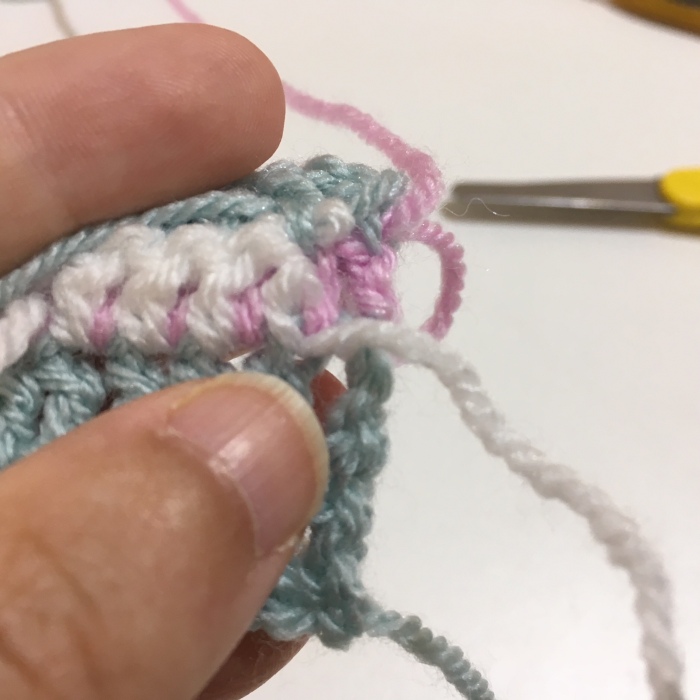
Before we can yarn over pull through those two loops to finish our treble stitch we need to attach this stitch into the base of the stitch from the row above. See below picture for where to put your hook and remember that we are following where the ‘wrong’ coloured yarn is joined to the row above.
So hook through here …
Yarn over
Pull new yarn through the loops you picked up from the row above.
And through the next loop of new yarn so that there are two loops of new yarn left on your hook.
Pull through the next loop so that there is one loop left and you have finished the second stitch. It’ll get easier now as you get the hang of this!
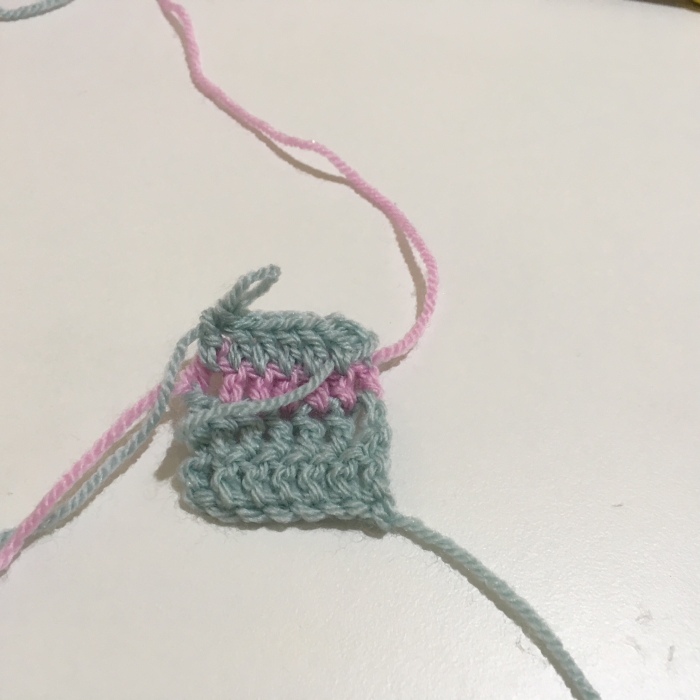
Start with a yarn over and put your hook through the base of the next stitch.

Loop over and pull through two loops to begin the treble stitch. Join the bottom of the stitch above before you finish the treble.

Keep going, you can do this! Don’t forget to join the bottom of each stitch from the row above.
Once you finish the last but one stitch you may need to join into the top of the turning chain (depending on which side you started with).

As usual, yarn over then put your hook through the loop at the top of the old stitch, following the ‘wrong’ yarn.
Complete half your treble stitch and then join to the base of the stitch above.
Pull through all loops to complete your final treble and give yourself a big pat on the back. You did it! Break of yarn, secure and weave in ends as usual.
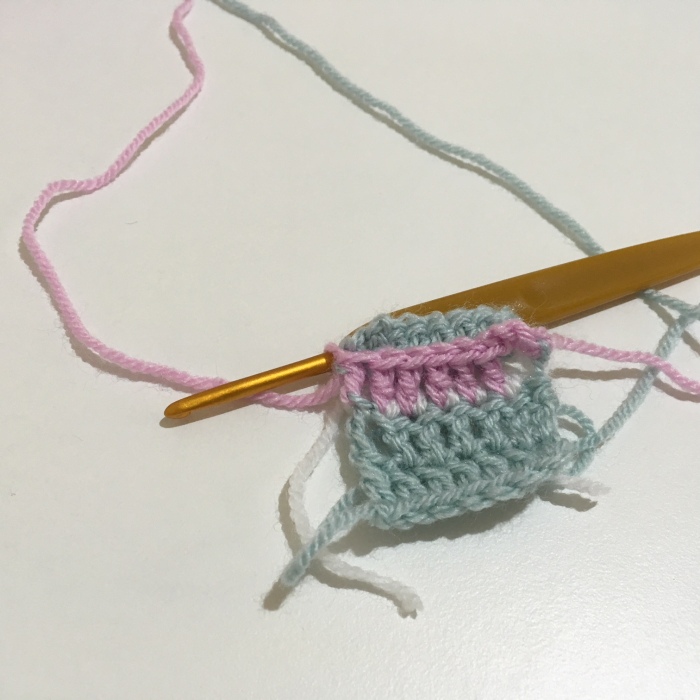
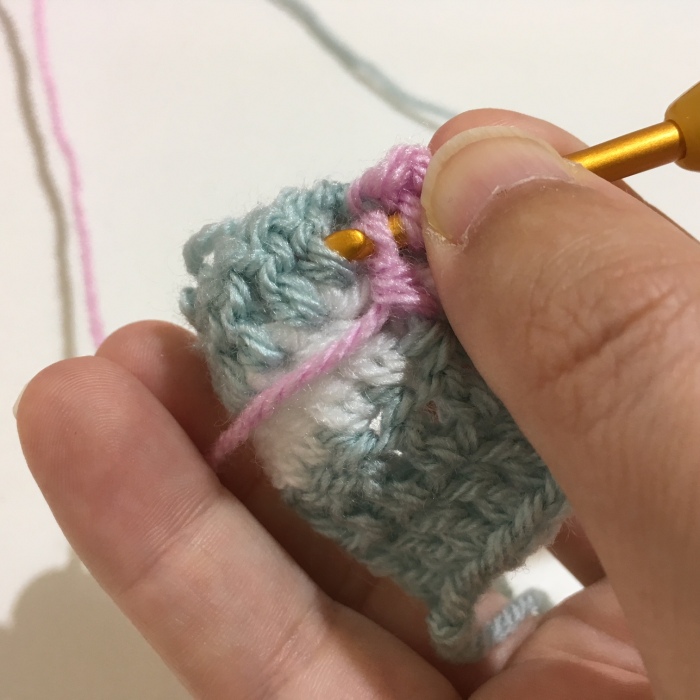
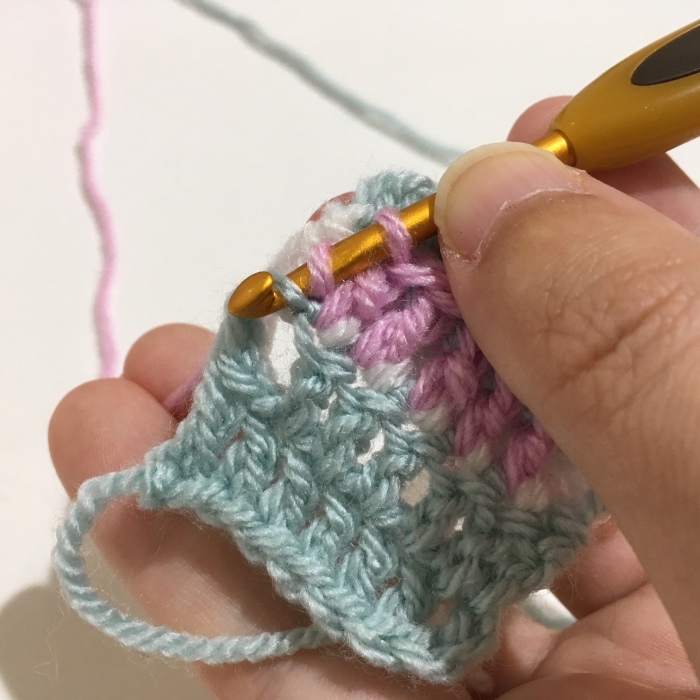
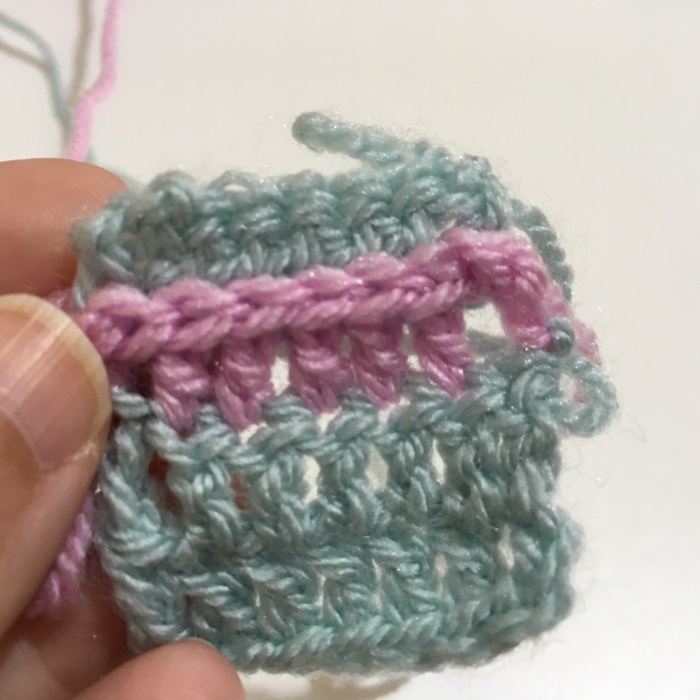
This is what the right side looks like. Can you see that there is a row of what looks like chain stitch across the top of the replaced row? Think of it as a feature 😉 or read on to find out how to get rid of it.
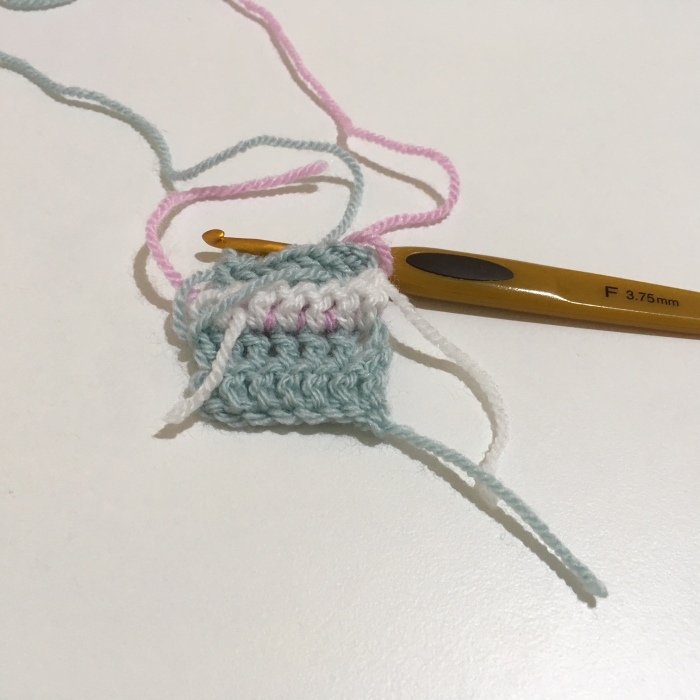
Turn your crochet over and take a look at the wrong side. The old yarn is still there and it’s time to get rid of it. Put your scissors very carefully between the old and new yarn and cut ONLY the old yarn.
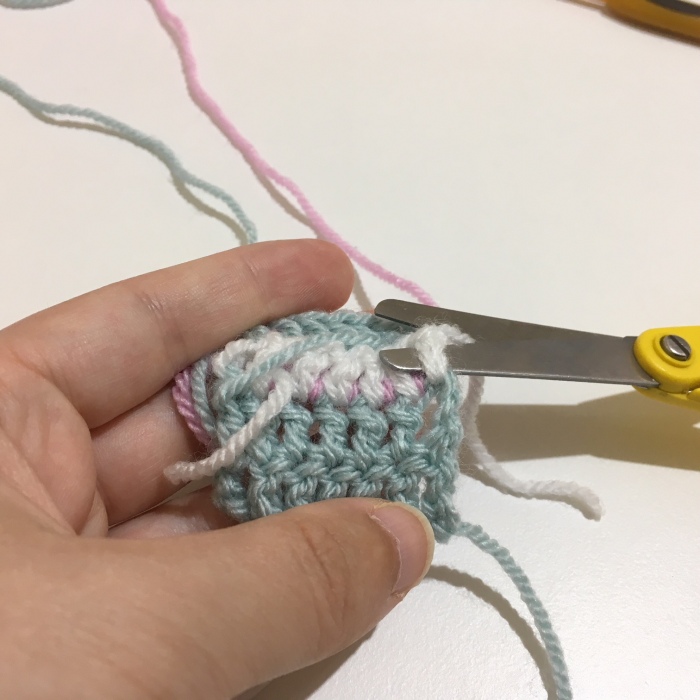
Cut the old yarn and then pull it all out. We don’t need that wrong coloured yarn anymore!
Once you rip out all the old yarn it should look something like this. There should not be any unattached loops hanging down from the row above.
This is the right side with the slip stitch line.
And this is the ‘wrong’ side without that funny line. So if you don’t want to see that line just turn your work over before you start so that you are working on the wrong side and the line will be hidden at the back.

And that’s it! I hope you love your new colour!